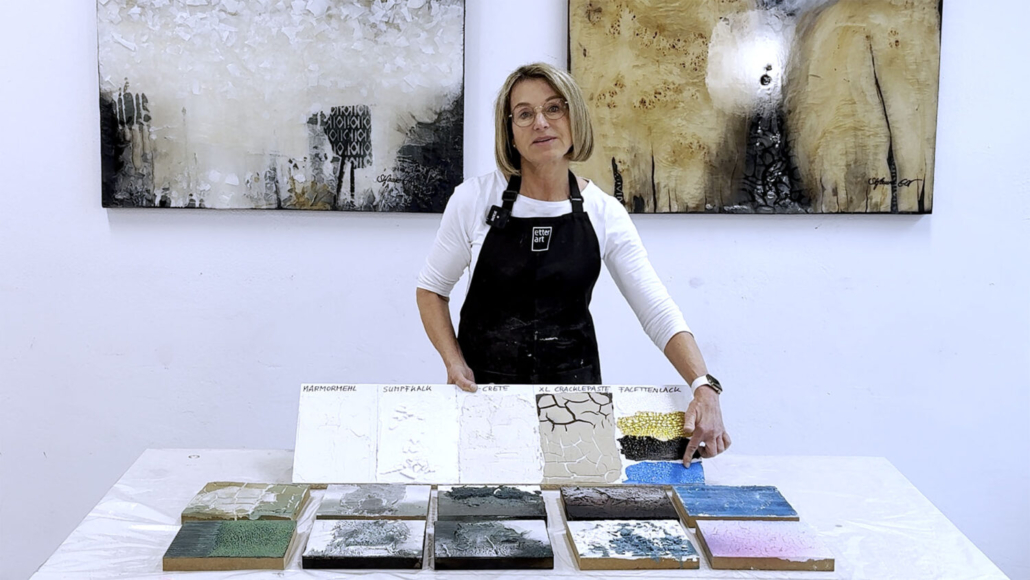
“How to Structure Art”: your technique video course for texture in art
You can experience things in different ways. Emotionally, for example – and through touch. And that’s exactly how textures in art can be felt and experienced. Emotionally and through touch. Of course, textures are also visible.
If textures can do and mean so much: Is it then very complicated to apply them to a painting surface?
Spoiler: The better you understand your materials, the easier it is to create impressive textures.
This art course is a technique course.
Stefanie Etter introduces you to different texture materials, so you can understand them and, above all, control the effects they create. That’s the only way to build genuine material expertise – and create really great textures.
Want to get a first impression now?
What you’ll get in the “How to Structure Art” self-paced technique course
- 8 individual videos: because every material deserves its own video. Content: creating mixtures, building up layers, shaping surfaces. Plus: genuine material knowledge. And plenty of room to experiment (without a specific artwork to recreate).
- 139 minutes in total: Effects, special properties, possibilities. What can you achieve with each texture material?
- 1 handout: all materials clearly summarised; also for referring back to mixing ratios and application tips.
What’s important when creating a wide variety of textures – techniques in the video course
Mix, apply, done?
Anyone can do that … Here, you’ll learn so much more!
For example: how you can combine different texture materials or work on them further. How they react to colour, glazing, sanding or sealing. These are all things you should keep in mind.
Psst: Keeping these things in mind is already relevant when mixing and applying the materials. Of course, there are also different approaches and possibilities for these steps.
So, feel free to keep reading.
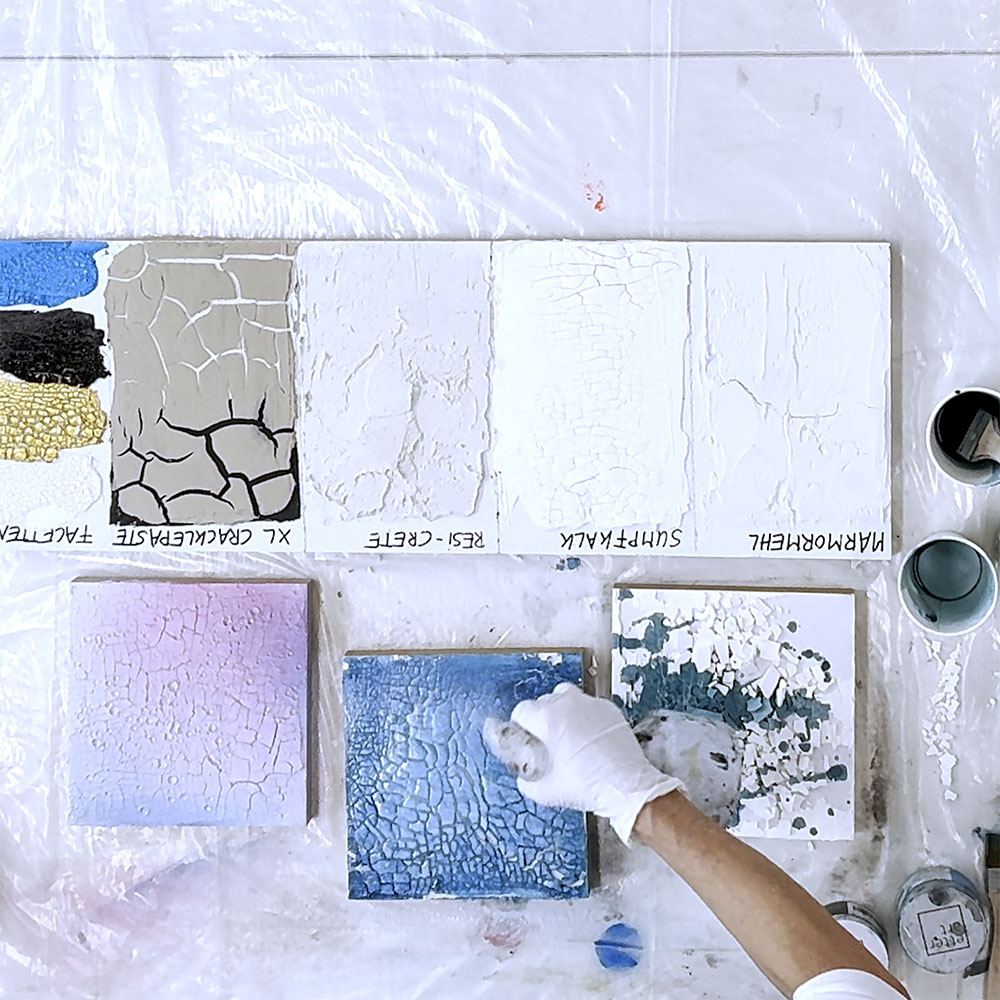
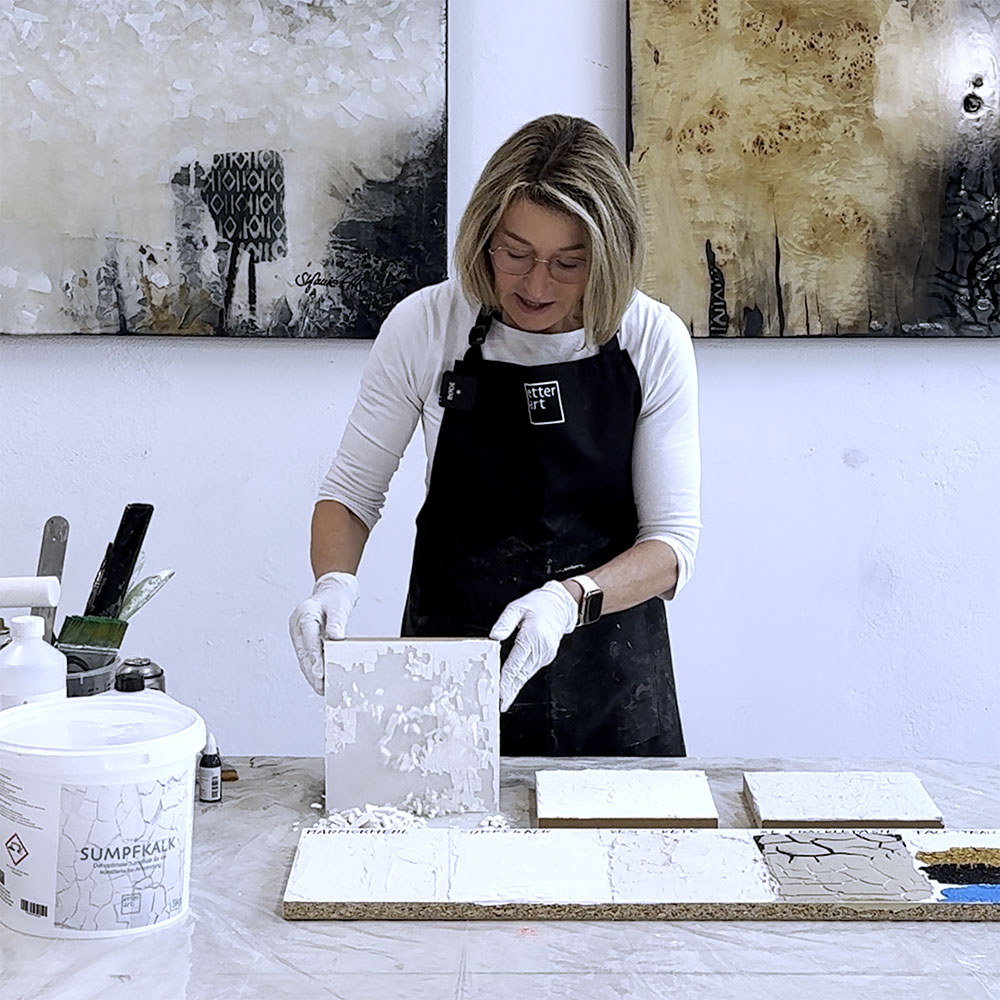
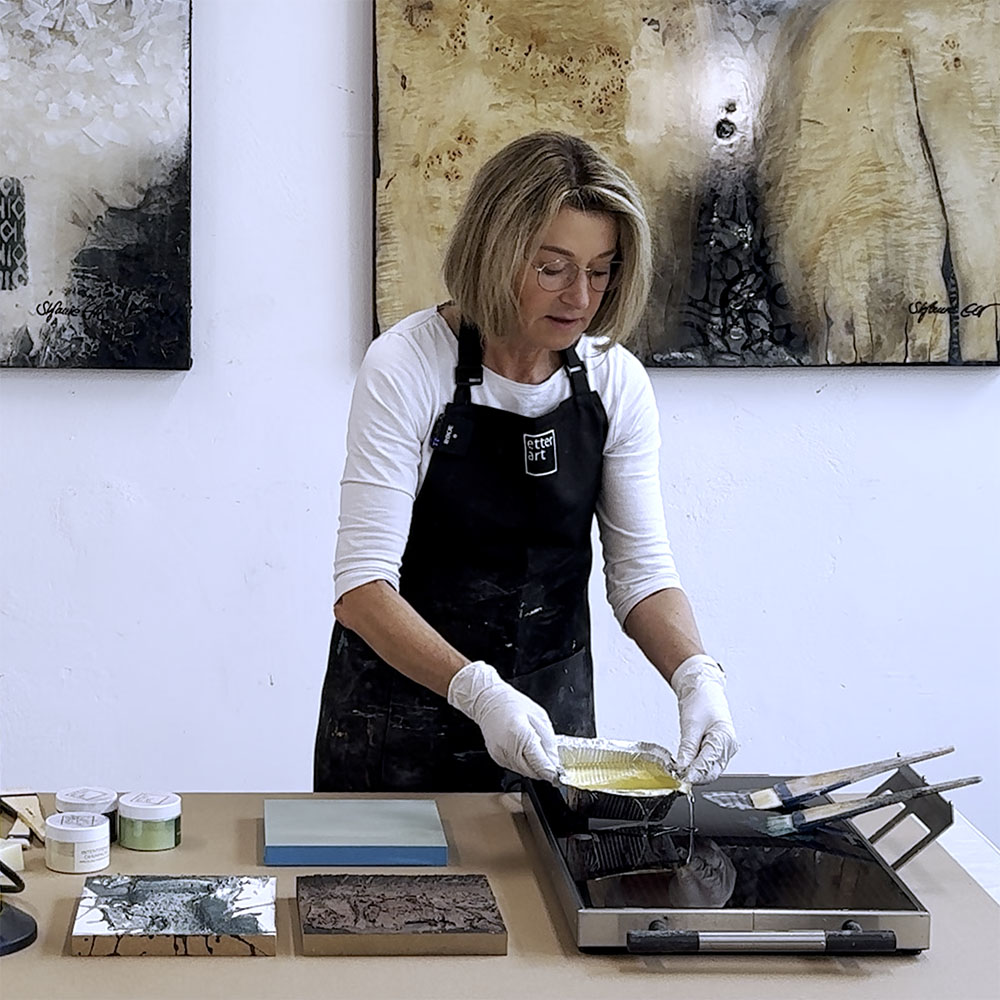
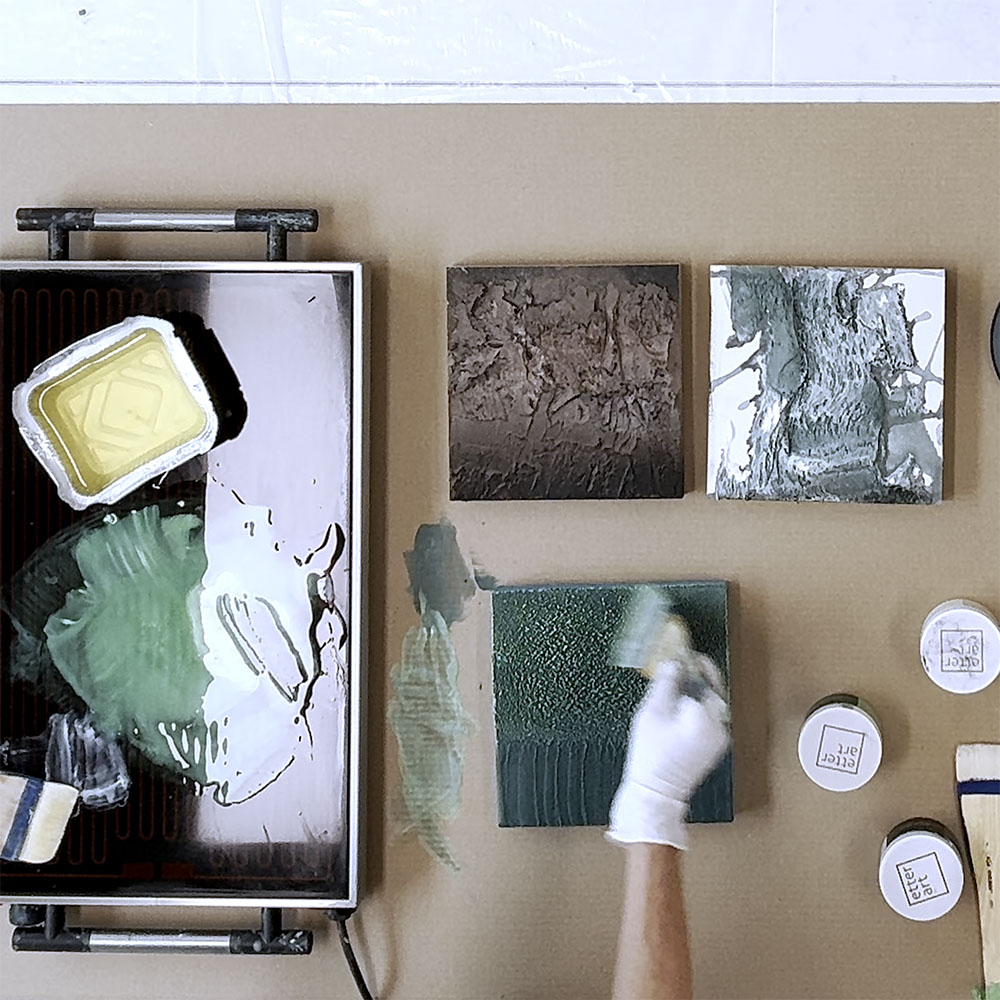
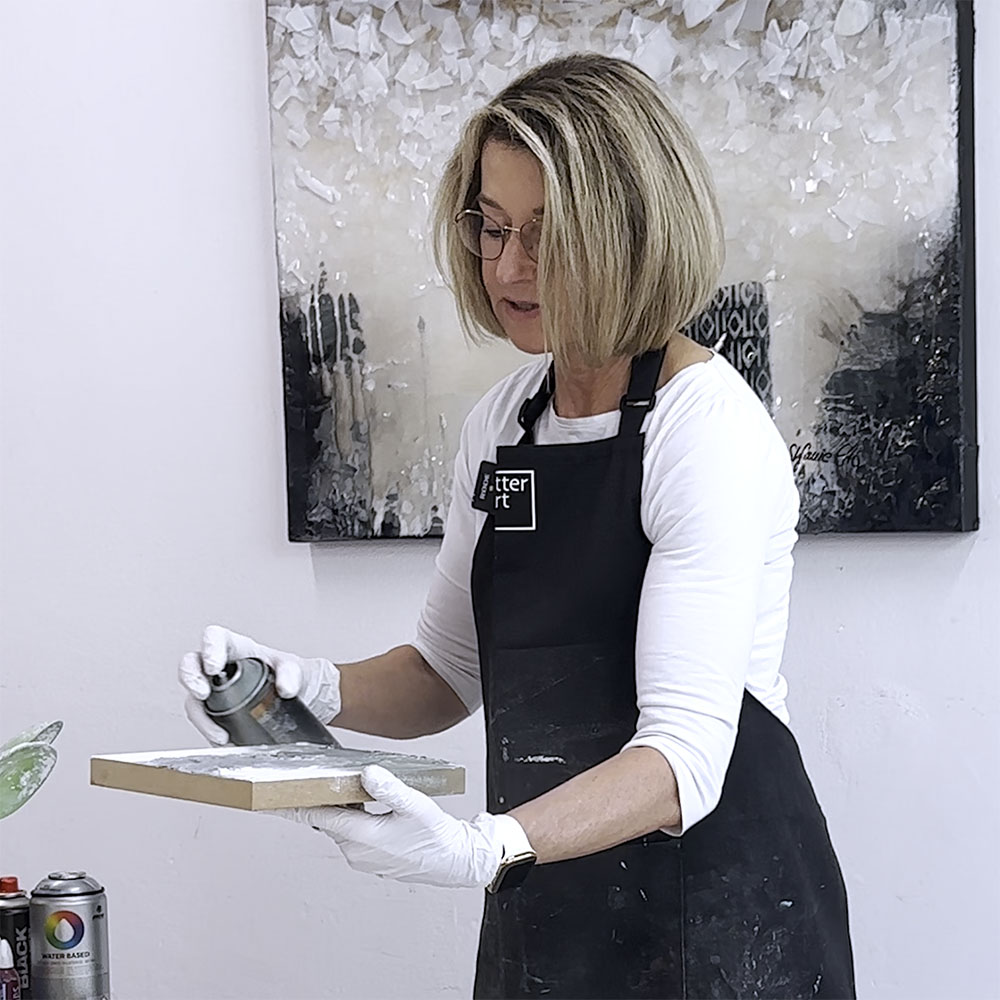
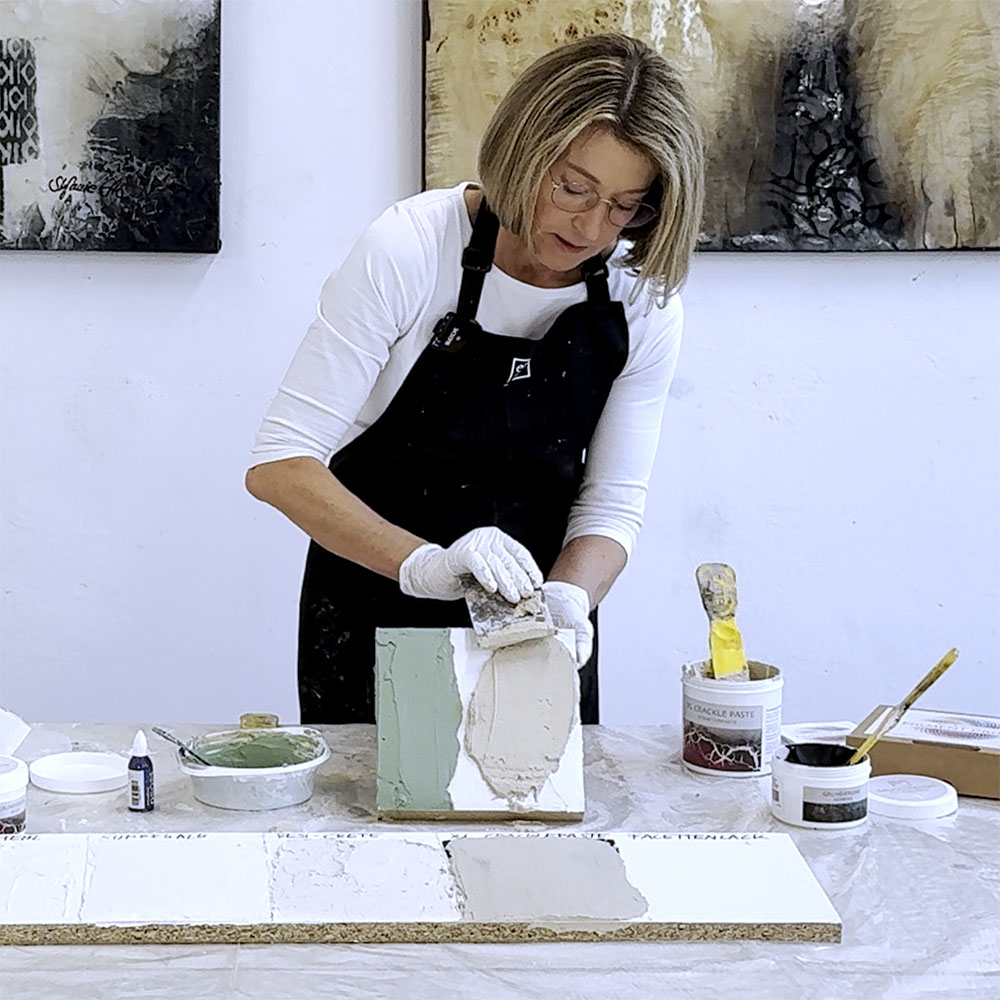
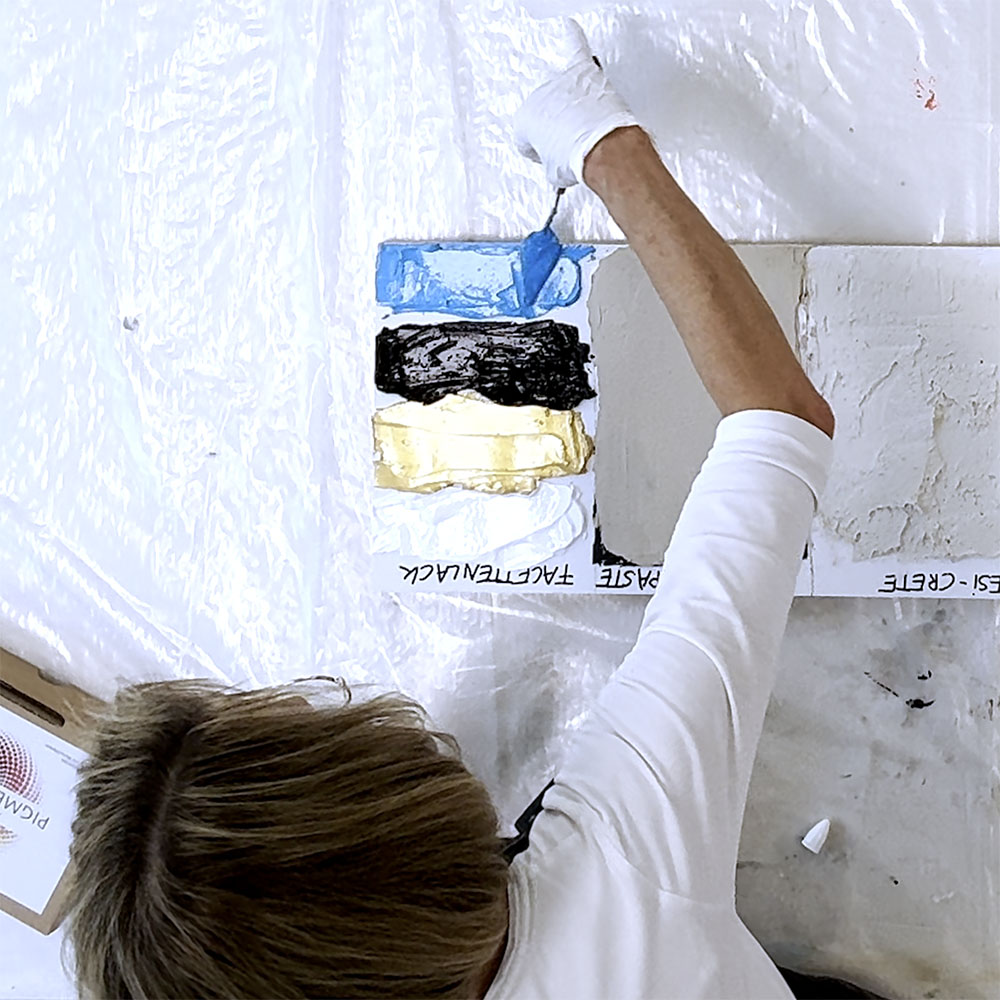
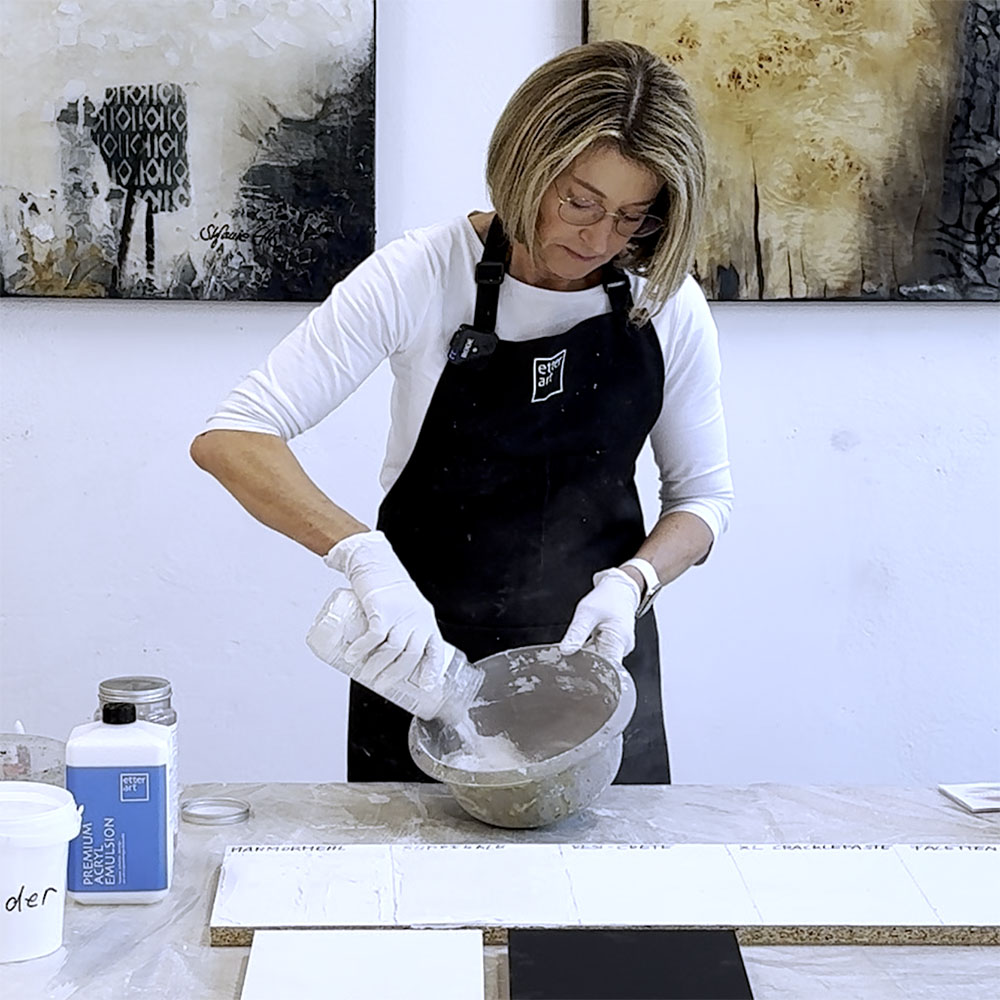
What to expect in the “How to Structure Art” self-paced video course – the practical part
Video: Intro
- Overview of the video course content
- Stefanie Etter’s approach to working with different texture materials
Video: Marble powder – the mineral texture material for slab-like cracks
- Surface: How to prepare it so that the marble powder adheres perfectly.
- Mixing: What works best and how do you do it?
- Pure, coloured or combined with paint pours: With marble powder, you have a choice.
You’ll learn: technical details. How and what to mix. How to work with marble powder in combination with glaze, Pigment Drops and paint pours (with antique ink).
Video: Lime putty – the fine-textured material for delicate cracks
- Mixing: The mixture itself determines whether the lime putty adheres directly to the surface or not. Including a solution for when it doesn’t.
- Application: Regular or irregular, flatter or thicker, over large areas or as accents? You determine this based on your artistic concept.
- Pure, coloured or glazed: Lime putty always delivers. In its pure form or coloured (this can be done before or after application).
You’ll learn: technical details – for example, how to store lime putty. And: mixing, colouring and applying.
Video: resi-CRETE – the versatile texture material
- Different textures: from calm, concrete-like surfaces to tactile, lively textures. What matters most: the consistency of the mixture, the movements of the palette knife and the thickness of the applied layer.
- Effects: Want metallic effects on the resi-CRETE surface? Use sprays!
- Techniques: Want crystalline textures on a resi-CRETE surface? Create them with encaustic wax.
You’ll learn: why resi-CRETE stands for ease, speed and versatility. Special features: pre-pigmented (and easily customisable), lightweight, quick-drying (also ideal for working in layers without long waiting times), combinable with other materials, suitable as a standalone texture material or as a base or intermediate layer, and suitable for creating individual texture pastes.
Video: XL CRACKLE PASTE – the controllable texture material for XL cracks
- Priming: Use the primer as part of the composition – through its own colour.
- Application: The thickness of the application determines the cracking. This allows you to control and vary the result.
- Colouring: With pigments or sprays. For completely different effects.
You’ll learn: why the drying process becomes such an important part of the creative process here. How you can emphasise cracks and breaks even more.
Video: Crackle varnish – the glossy texture material for delicate cracks
- Colouring: with Pigment Drops. As an example.
- Application: what you should keep in mind.
- Appearance: Here, it’s all about the delicate crack patterns with a glossy surface – less about a tactile texture.
You’ll learn: why crackle varnish is so different from other texture materials. Why it’s particularly suitable when you want an elegant and sophisticated look.
Video: Encaustic wax – can be used as a crystal-like texture material
- Surface: Prepare it properly for adhering wax textures.
- Technique: Work with the wax using the brush technique.
- Combination: Create crystal-like textures with wax on top of other textures. For example, on resi-CRETE.
You’ll learn: What you need for working with encaustic wax. When it’s worth using wax textures. These are some of the textures you can achieve, among others.
Video: Farewell
- Recap
The “How to Structure Art” technique video course gives you the confidence to bring your own ideas to life using texture materials. This confidence almost naturally leads to a new form of creativity. For new dimensions in your art.
Would you like to explore new surfaces as a new means of artistic expression?
Your “How to Structure Art” self-paced online course costs €99.00.